Instrumental insemination, often referred to as artificial insemination, of honeybees has been widely accepted as a valuable tool for maintaining and improving queen lines. The ability to control both the drone and queen lines through the use of instrumental insemination has allowed great improvements in the quality of honeybees available. With increasing use in both queen breeding and research, II is becoming increasingly more accessible. The ability to control a queens mating is one of the great attractions of II. Not only does this ensure constantly good matings, but it also minimises the impact of weather on queen production.
Instrumental insemination of queen honeybees was first successfully demonstrated by Dr. Lloyd Watson in 1926. He was the one to coin the procedure ‘instrumental insemination’. He disliked the term artificial. It also created a distinction as the procedure is heavily reliant on specific equipment and a single insemination will last the queen a life time, unlike artificial insemination in other species. The term Instrumental Insemination appears to be unique to honeybees.
How to get started
If you are looking to carry out instrumental insemination, it can be difficult to know where to begin. The important thing to recognise is that even with all the training in the world, it takes a long time to learn, practice and perfect the techniques. There are always new techniques being developed and many variation of methods. Once you have learnt the basics you will have to develop working practices which suits your needs and style.
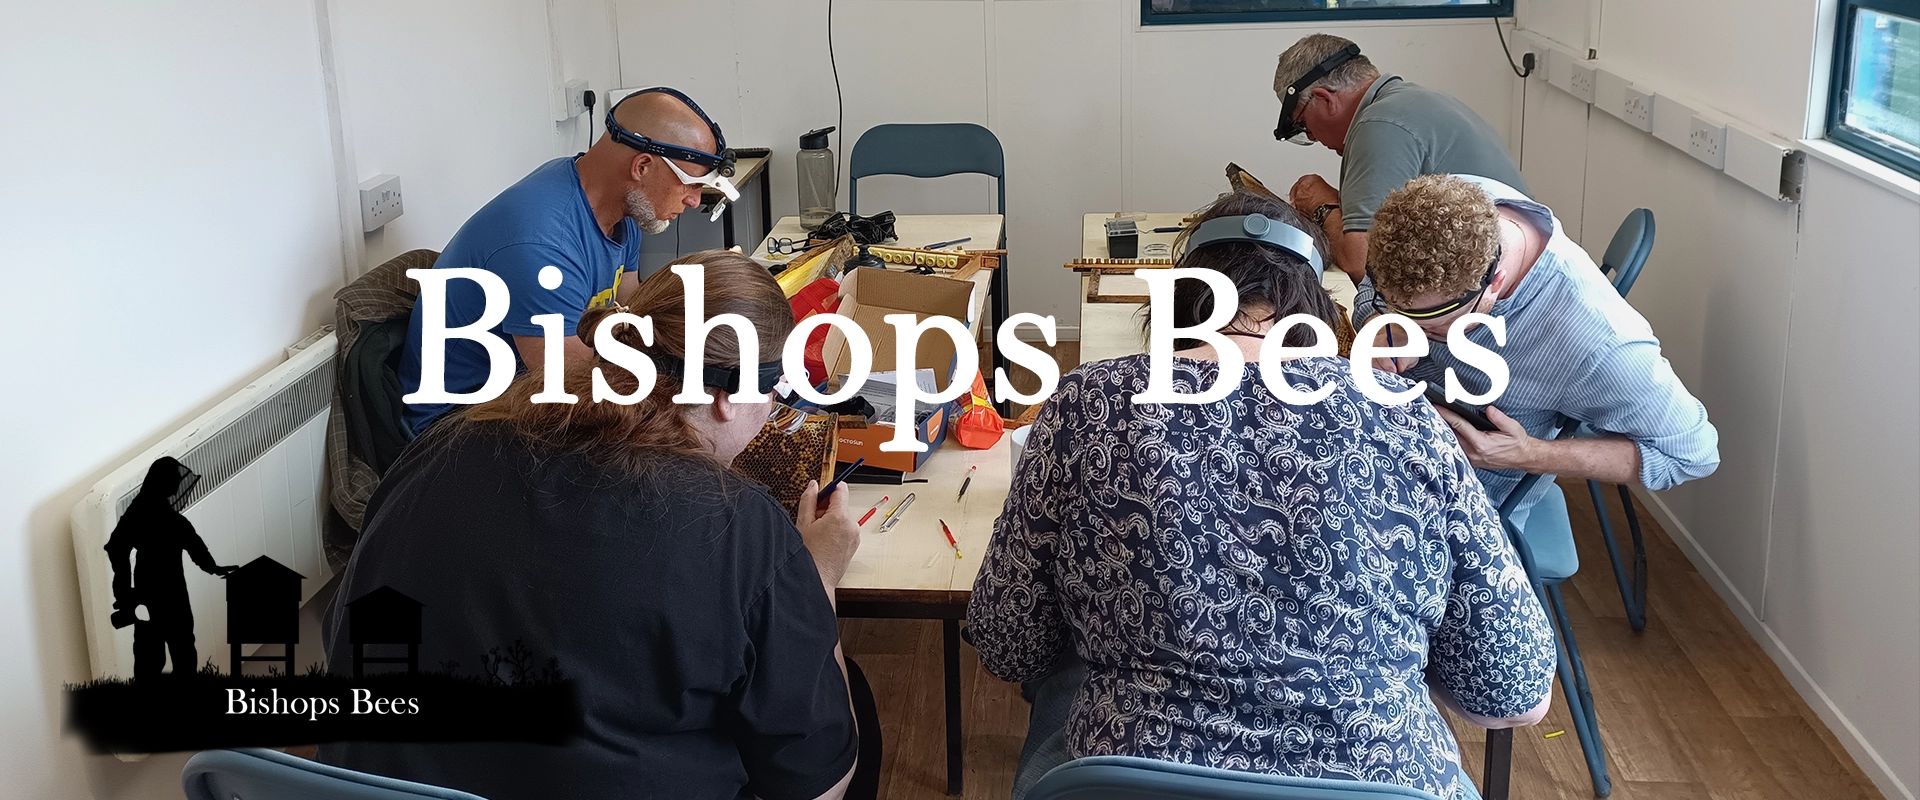
Due to the cost of II equipment, it is advisable to go on a course first to familiarise yourself with what is involved. It will also give you a chance to see the differences between different units and accessories. We run 2 day Instrumental Insemination courses from the spring.
Instrumental Insemination Course
If you can not make one of our courses or would like something catered towards your need, then please contact us and we will do our best to help you.
Once you have learnt the techniques, you will need to purchase your own equipment to practice and perfect them. It can take a long them to become proficient in instrumental insemination, it is important to not become disheartened by early failures. We stock a large amount of Instrumental equipment and can get you set up. If you need any help or would like to talk to someone about your requirements, please contact us.
Instrumental Insemination Equipment
Instrumental Insemination Techniques

There are a range of techniques employed in instrumental insemination. These as a whole make up the procedure of insemination. Outside of those directly used during insemination, there are several required before insemination can take place and post insemination.
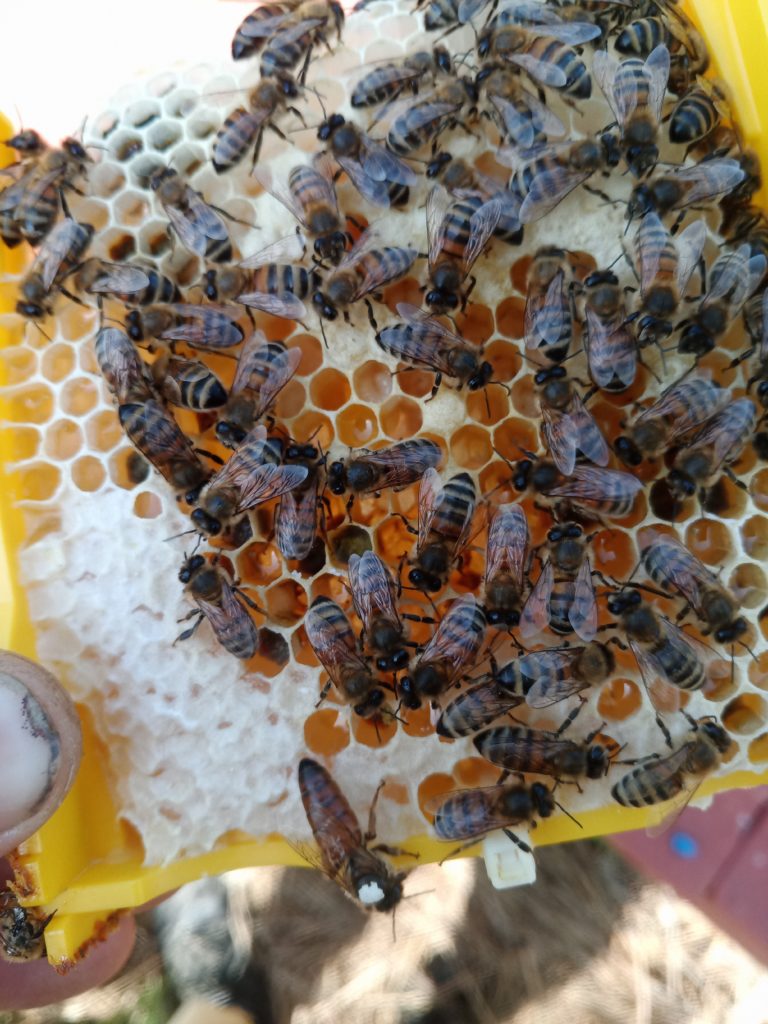
Queen and drone rearing are required skills to produce II queens. Careful selection of queen and drone lines is important to produce quality queens. Queen rearing is a pre-requisite for Instrumental Insemination and is a topic we will cover else where.
Semen Collection
Once you have queens and drones of the correct age and maturity, you will collect semen from the drones. Semen is collected by everting the drones and removing the semen with an insemination tip. Collection is carried out under a microscope so that the semen can be distinguished from the mucus plug.
Mature drones are everted by first applying pressure either side of the drone’s thorax. This will result in partial eversion of the endophallus. Full eversion is achieved by rolling the thumb and finger along onto the drones abdomen. The endophallus will be completely exposed and the semen and mucus plug will be ejaculated. The semen can then be collected from the mucus plug being careful not to draw up the mucus.
During eversion and semen collection it is important to ensure that the endophallus, mucus or semen does not touch any contaminants. If there is even the slightest possibility that contamination has occurred then the drone should be discarded. Contamination can result in a bacterial infection with in the queen resulting in queen failure.
Queen Insemination
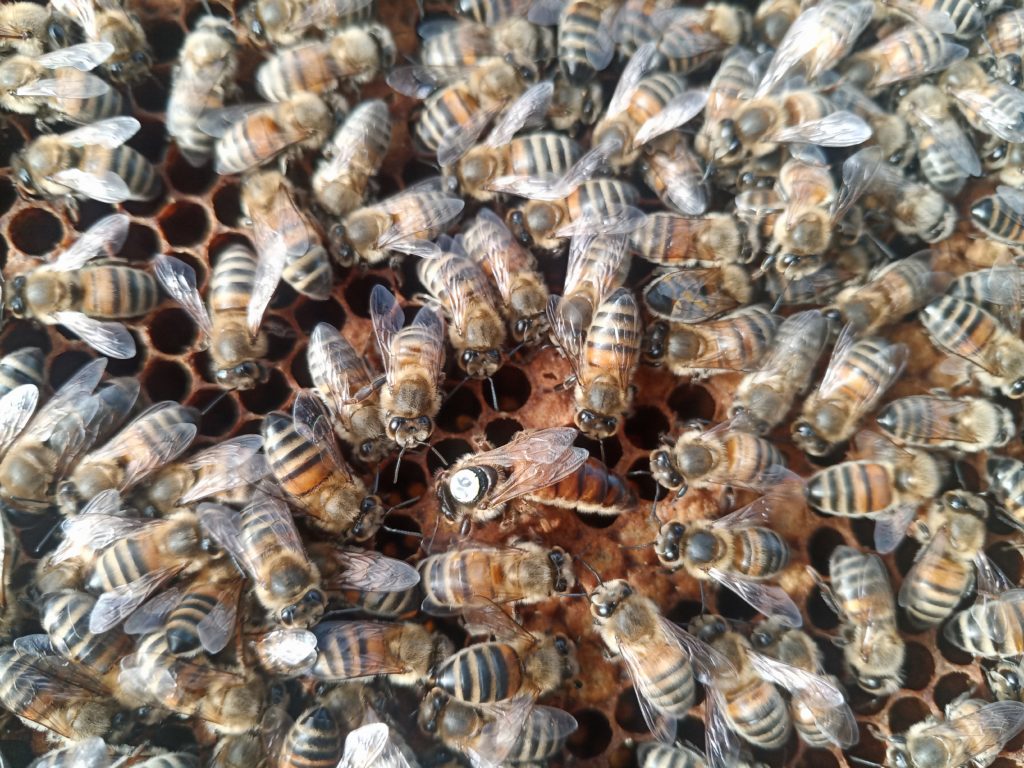
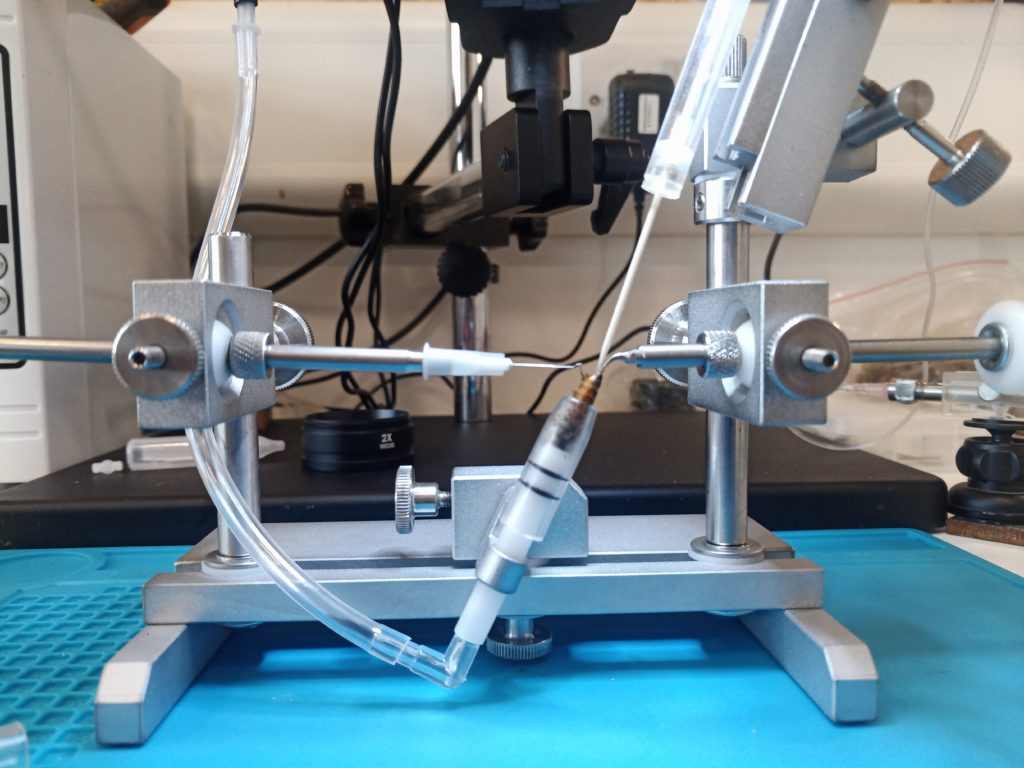
To inseminated the queen, an instrumental insemination unit must be used. There are a number of different units available. All insemination units work in a similar way. They hold the queen securely to allow her abdomen to be opened, an insemination tip can then be inserted and semen injected into her oviducts. During the procedure, the queen is anesthetised using CO2. Not only does this prevent her moving during the procedure, but it also helps trigger her body to prepare for laying. Queens are often dosed with CO2 twice, once during insemination, and once 24 hours before or after insemination.
Virgin queens can be banked or held in nucs/mating nucs prior to insemination. If queens are not caged then a queen excluder must be placed across the entrance to ensure she doesn’t go on a mating flight. Pre and post insemination of queens is very important and has a significant impact on success and queen quality.
To hold queens for insemination, they are removed from the cage and guided head first into the back-up tube. This is then placed against the queen holder. The queen will walk backwards into the holder until her abdomen protrudes out of the tapered end. This can then be placed over the CO2 aperture of the unit to anesthetise the queen.
The queen is orientated with her ventral side facing up. Using the ventral hook and sting forceps the abdomen is opened and her vaginal cavity exposed. The insemination tip is slowly inserted and manoeuvred to bypass the valvefold. A dose of 8µl – 10µl of semen is then released into her oviduct. The tip is then removed and the queen returned to her cage to wake up.
Insemination equipment – The basics